Outline
- Using Unity to Set up a VR Scene
- In-Class Exercise
Introduction
- On Monday, we started talking about the Unity Game Engine.
- We said that it could be used to write games/experiences for a variety of platforms including the most popular VR platforms, such as the Oculus Go, Samsung Gear VR, Playstation VR, Oculus Rift, and HTC Vive.
- We said coding for Unity is a mix of dragging and dropping assets, editing their properties, and scripting using C#.
- We then went over how to set up development in Unity for Oculus Go development.
- This involved configuring the Build Settings for the Android platform; under Player Setting changing the XR settings to Virtual Reality Supported and adding the Oculus Platform; and downloading and installing the Oculus Integration package from the Asset store.
- Let's pick up from there to compile this first app.
- Much of the material I am covering is based on my following through, in the current version of Unity, the material in Unity Virtual Reality Projects, 2nd Ed. by Jonathan Linowes 2018.
Unity Controls for Editing a Scene
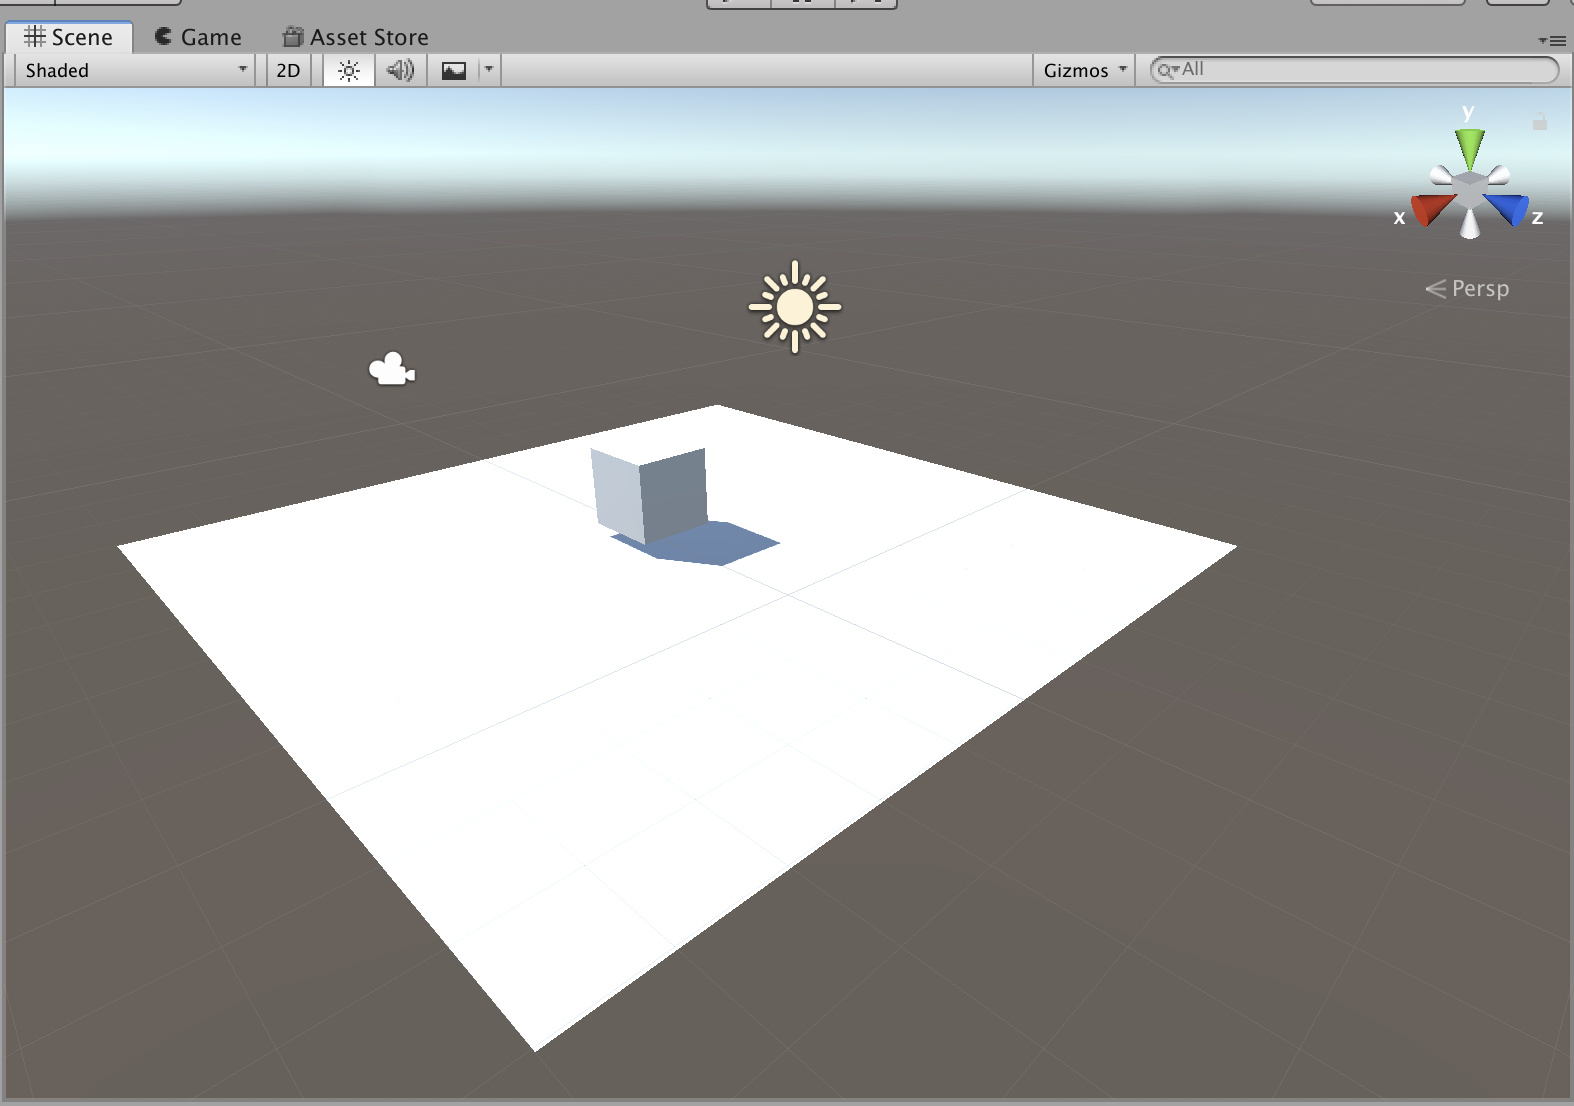
- The default scene that one gets when one creates a project in Unity consists of a Main Camera Object and a single directional light.
- If we look at the center pane, and make sure the Scene tab is selected, it will look like:
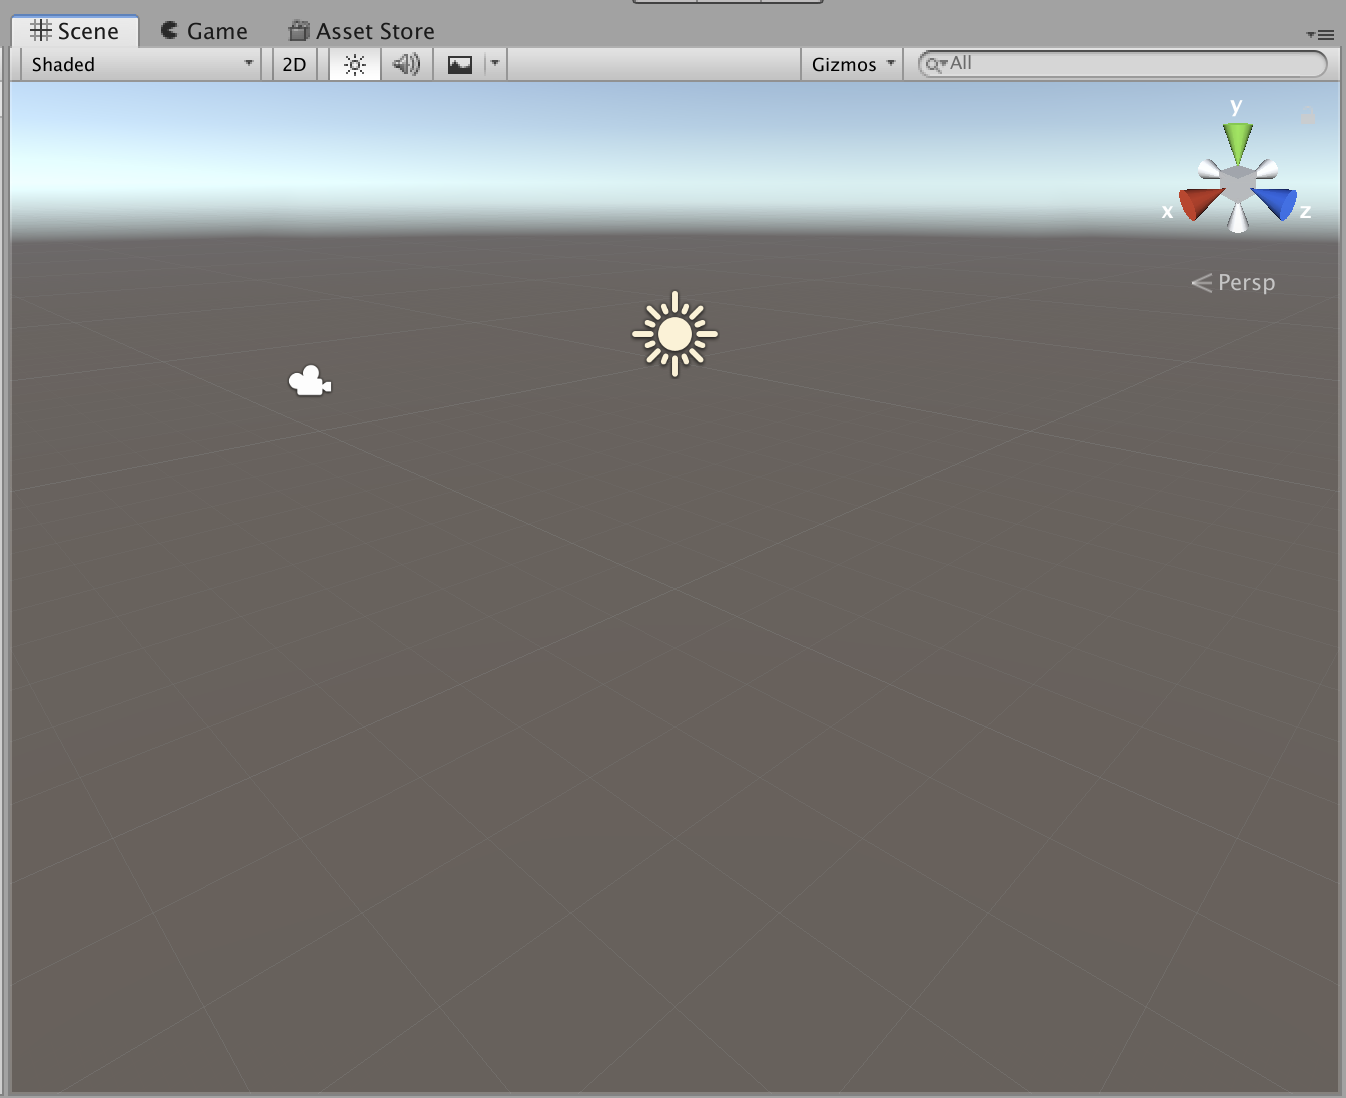
- The X-Y-Z gadget in the corner can be used to control from what orientation one views the scene, and the Persp icon can be toggle to Iso if one wants to change the projection.
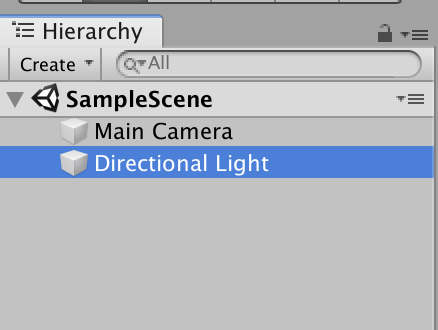
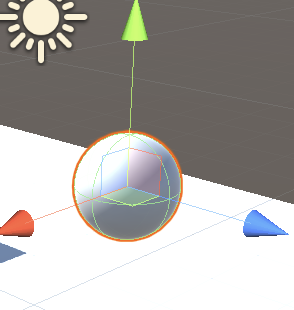
- If one clicks on an object in the scene such as the Directional Light, or if one select the object from the Scene Hierarchy on the left:
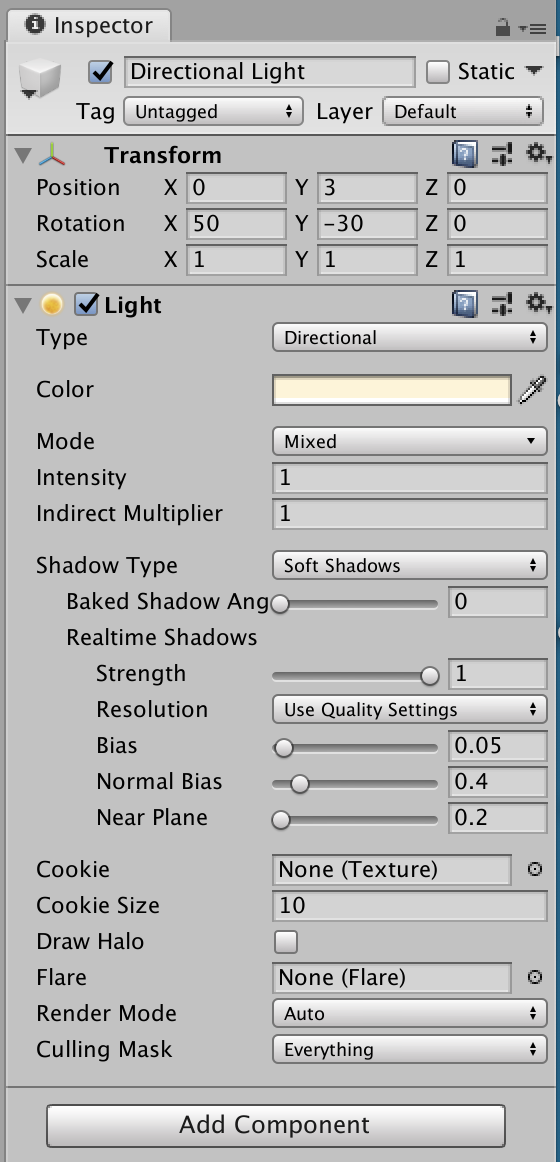
one sees in the Inspector pane on the right of the Unity window properties of the object we can edit:
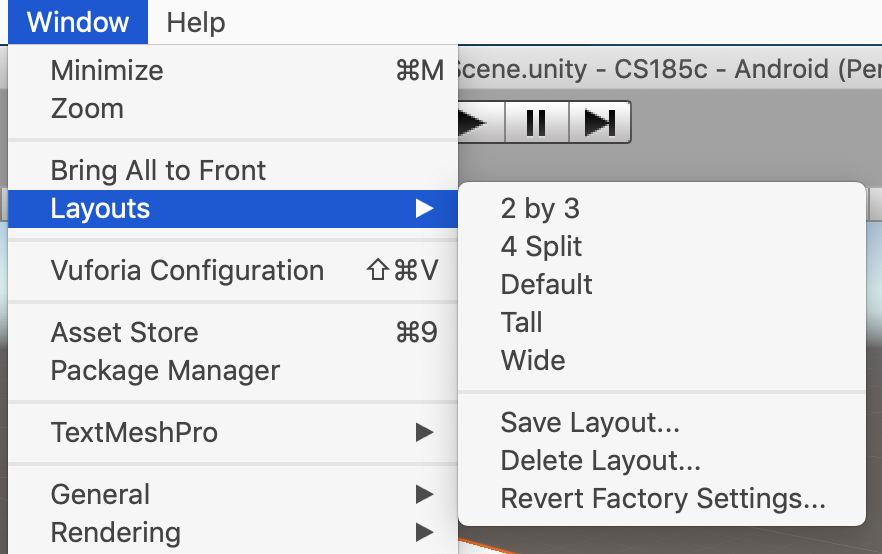
- By default the layout of the Unity window will have three panes across the top, and a Project pane on the bottom. If you screw this up, you can go to Window - Layouts and select Revert to factory settings:
Adding Objects to a Scene
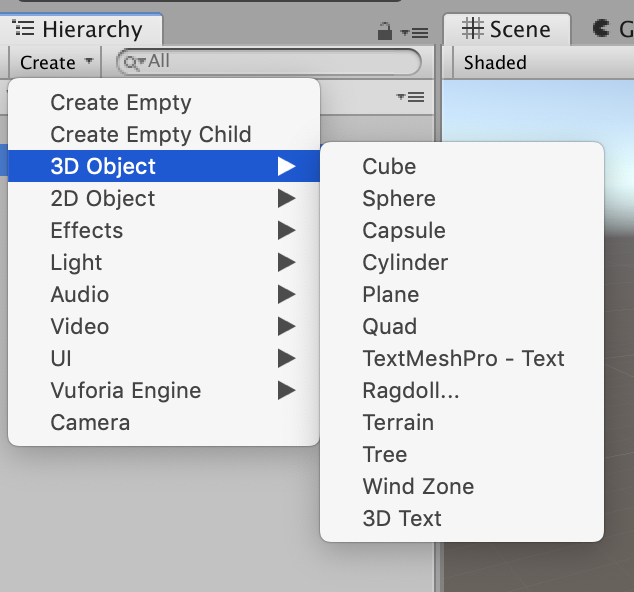
- Clicking on the Create button in the Scene Hierarchy Pane one can add objects to the scene:
- One can then select the object one wants to add, it will appear in both the hierarchy and the center pane, where one can move it around and place it. Further properties can be edited in the Inspector Pane.
Saving a Scene - Manipulating Objects
- A typical game, or Unity app, might be made of several scenes. We can save a scene by selecting the whole Scene in the Hierarchy Pane, then going to File - Save As in the top menu.
- You can then give your Scene a name. By default it will be Saved to the Assets folder:
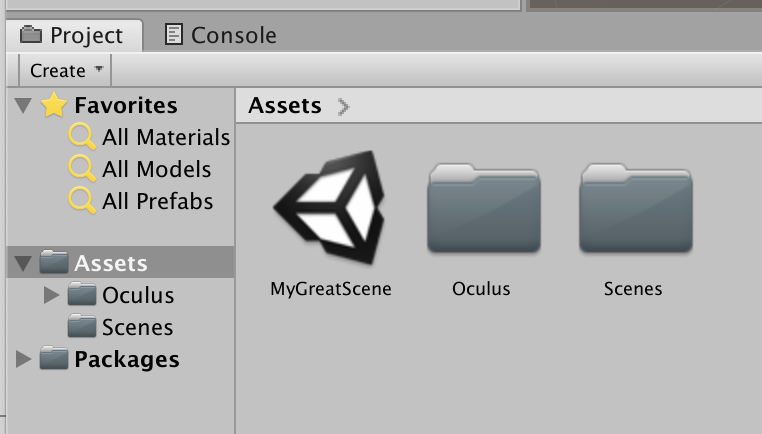
We can select and drag and drop this under the Scenes subfolder if we want to keep things tidy.
- In the File Menu you can also select Save Project, if you want to save the whole project.
- As we said to manipulate an object in the scene, we can first select it in the center pane. This will make an Axes appear on the object various portions of which can be clicked on to change the type of motion:
- Another way to say how to manipulate an object is to use the Window Tool icons:

- These tool are respectively:
- The Hand Tool which lets you grab an object and more it around as it was in your hand.
- The Move Tool which lets you translate an object in the X-Y-Z directions.
- The Rotate Tool which lets you rotate an object in its three axes.
- The Scale Tool which lets you change the size of an object in its three axes.
- The Rect Tool which lets you shear an object in its three axes.
- The Move, Rotate, or Scale Tool which lets you do all three of these operations in one harder to manipulate tool.
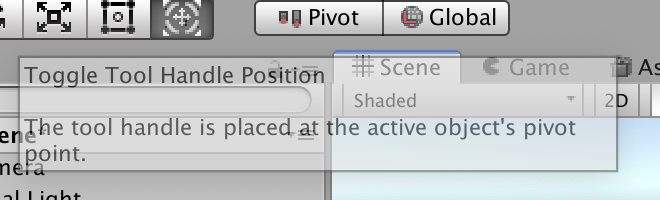
- As you are learning Unity you should make sure to make use of the tool tips that the various controls in Window have so that you can find out what they do. For example, hovering over the word Pivot in the Unity Window reveals:
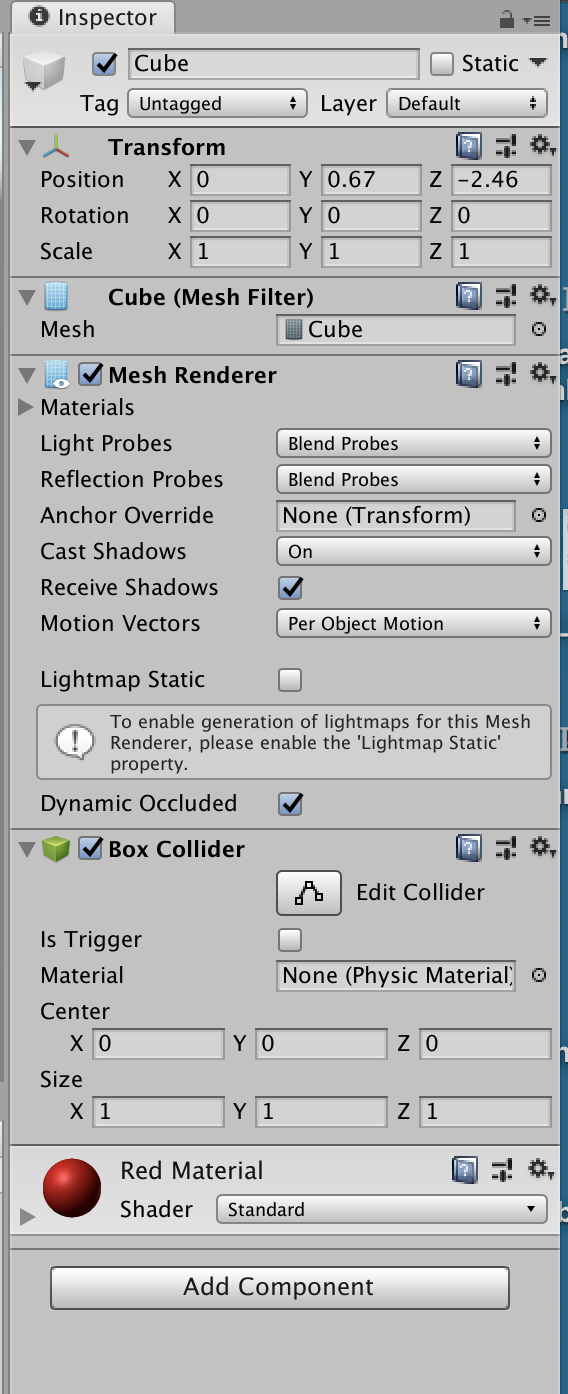
Changing an Object's Material
- Let's now create a material and use it for one of the objects in our scene.
- First, by right clicking in the Project Pane on the Assets folder, we can select Create and Folder, to create a new subfolder and then rename it to Materials.
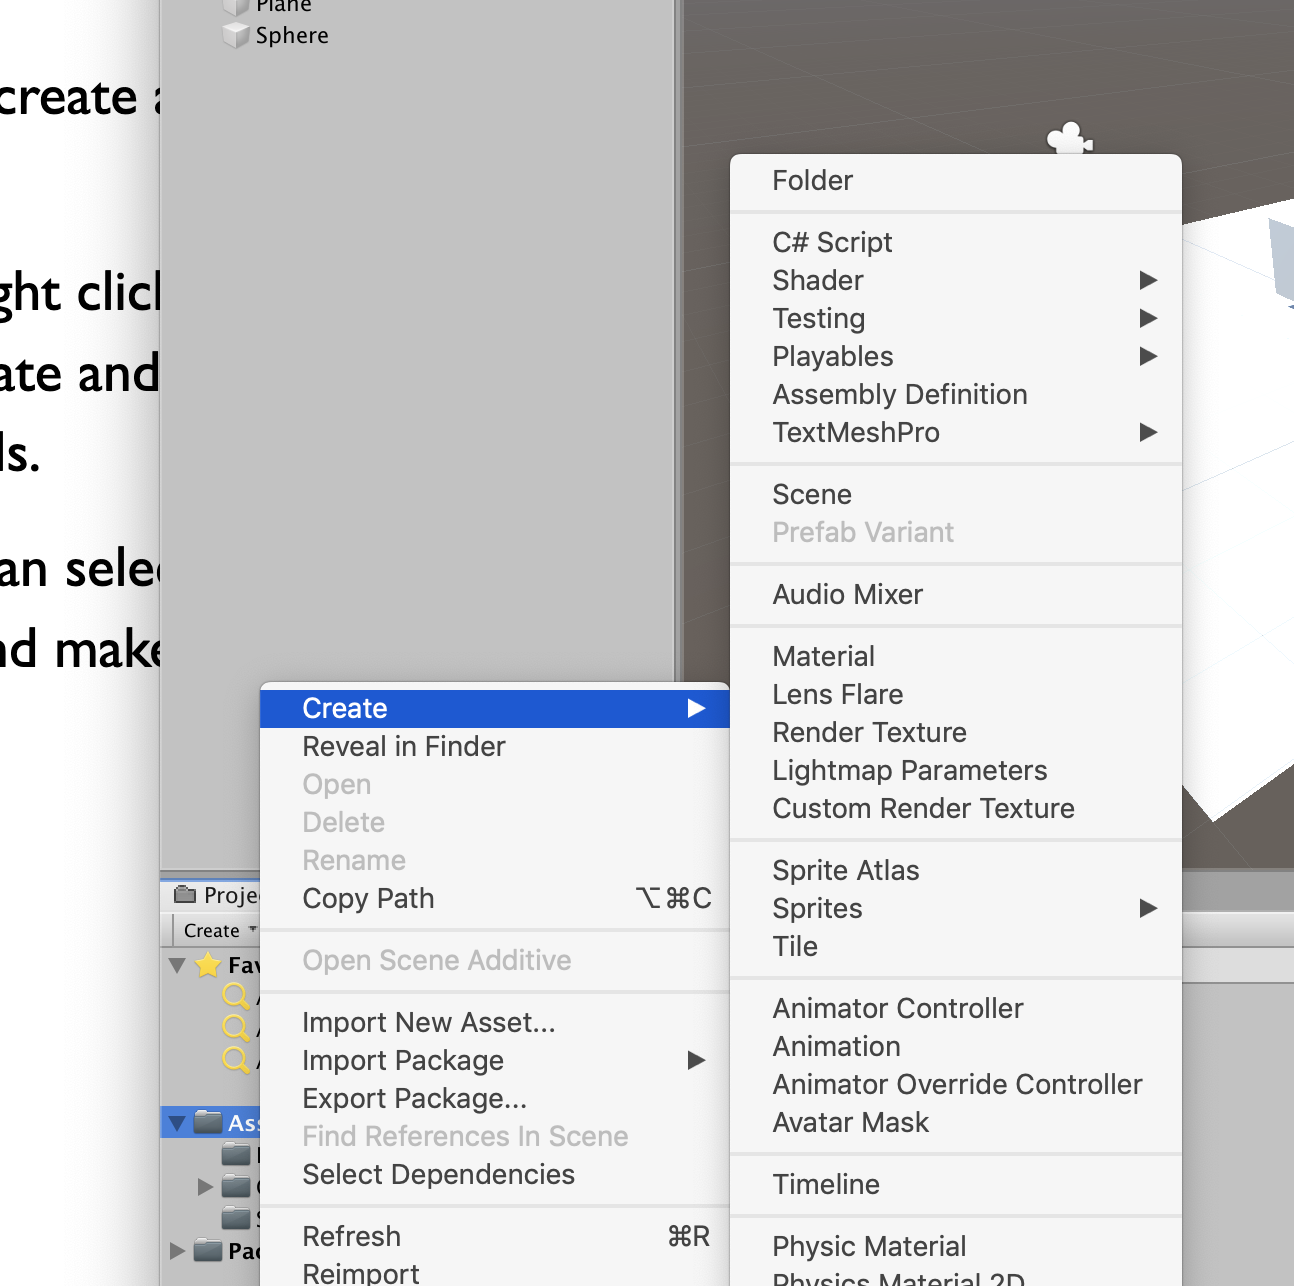
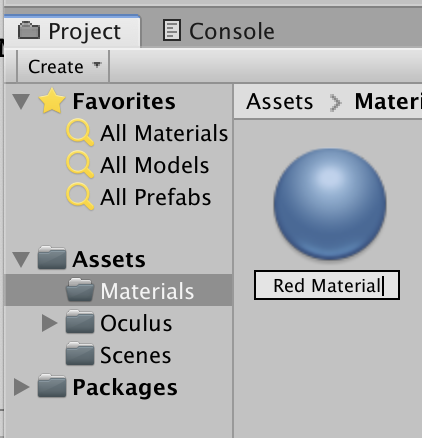
- Then we can select this subfolder, and right click and select Create Material and make a new material which we rename to Red Material.
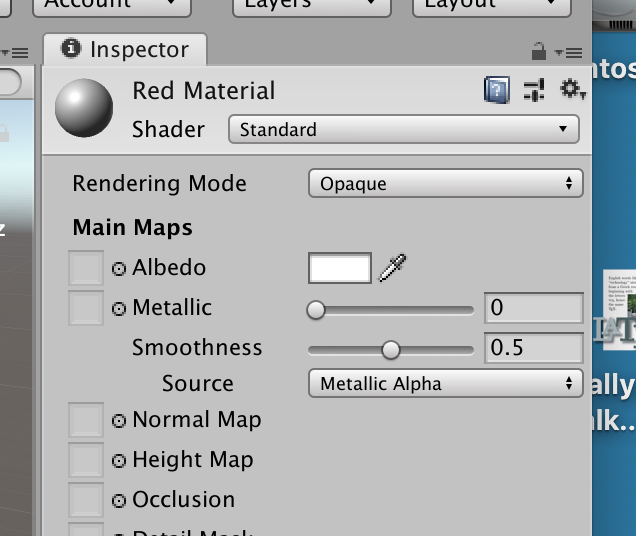
- If we look at this material in the inspector, we can click the square box next to the EyeDropper icon, to open up a color pane from which we can select the red color:
- We could add additional materials and make other changes to this one as desired.
- To use a material, we select the object we want in our scene, say the box.
- Then, we drag the material we want to use from the Project Pane over to the Inspector pane of the object to make the object use that material:
In-Class Exercise
- Using Unity, make a scene with at least three objects in it, one of which is a Blue Sphere.
- Post a screenshot (make image size small) of your solution to the Apr 17 In-Class Exercise Thread.
Other Things We Can Create - Making a Plane with a Picture
- If we click the Create Button, under the Hierarchy Pane, we notice there are many interesting pre-built objects and sounds.
- For example, you can have localized audio and video sources, UI controls, etc.
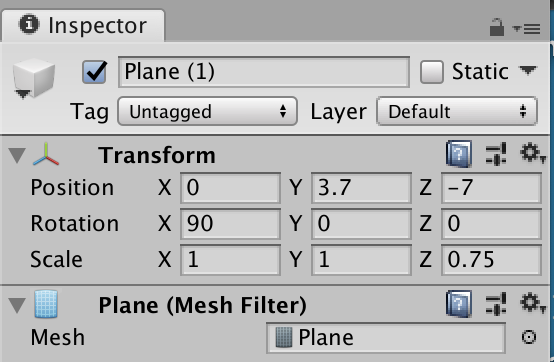
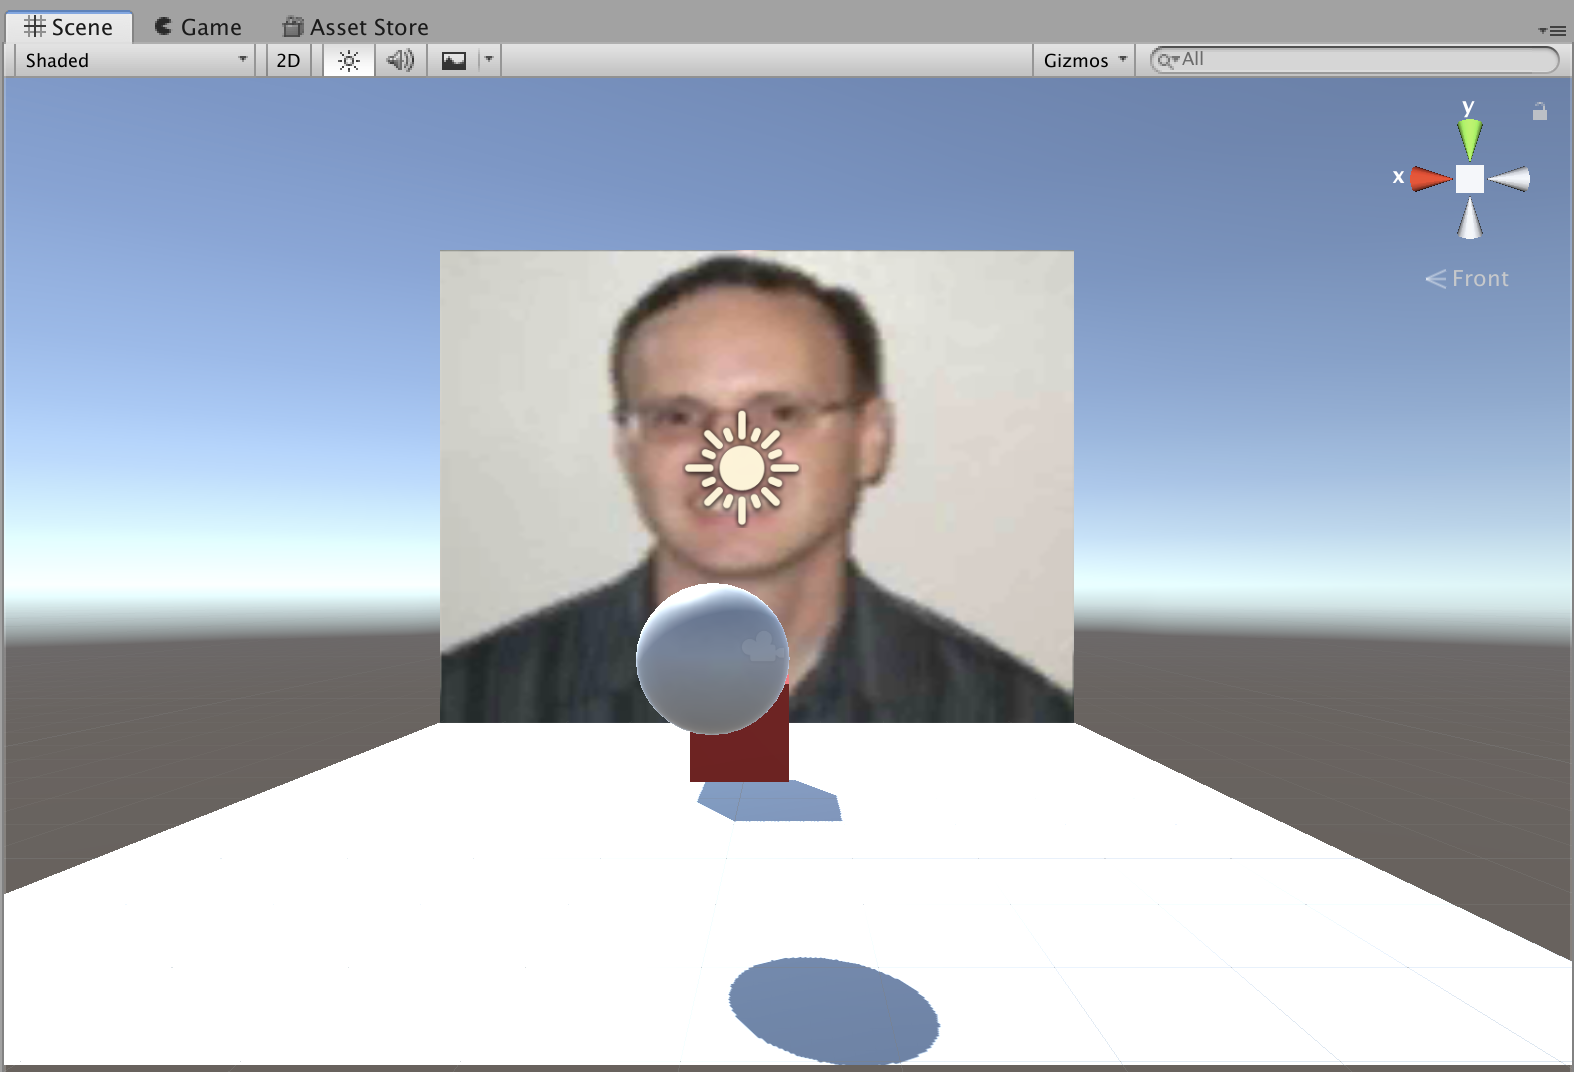
- As an example of taking an existing pre-built object and doing something cool with it, lets add a new plane to the scene.
- By editing it Transform properties in its Inspector Pane, we can make it stand vertically behind our other plane:
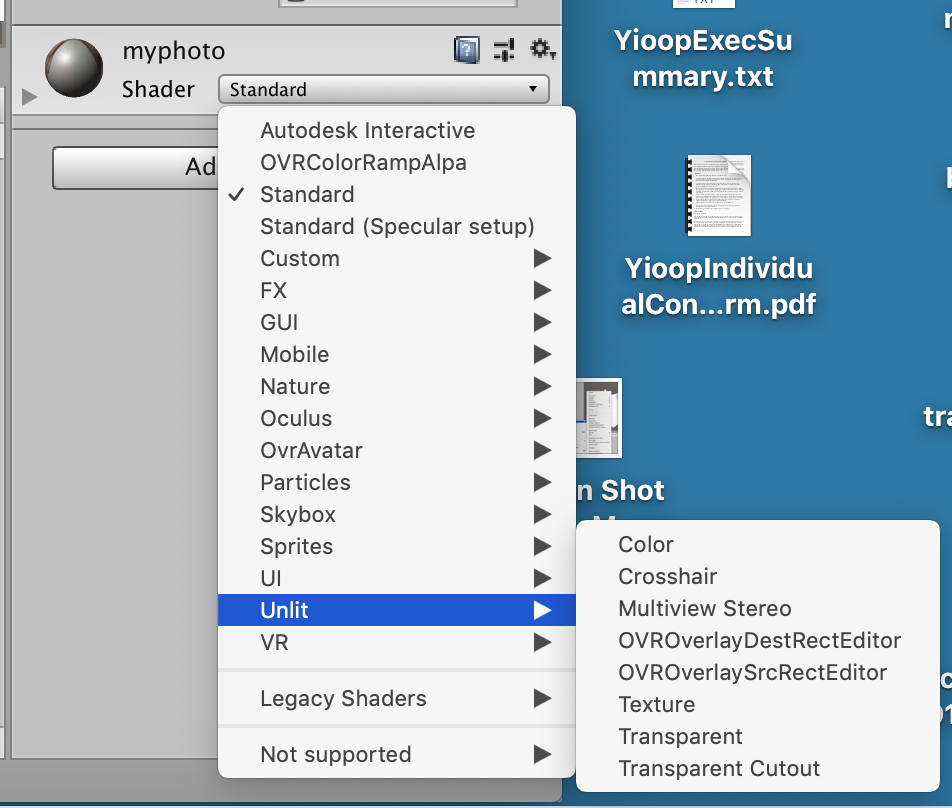
- We can now create a new Asset folder in our Project Pane called Textures, then drag a photo of our choice into this folder.
- If we now select our plane and drag the photo from this Textures folder, over to our plane's Inspector Pane, we set the image onto the Plane.
- By Default, the shader used to do the texture mapping will be Standard, we can change this to Unlit | Texture to make it look better:
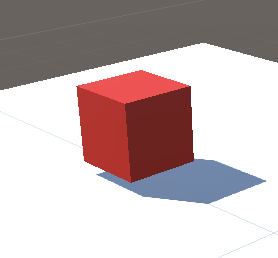
- At this point the scene might look like:
Getting The Scene on the Oculus
- First, make sure we have set up our build settings as indicated on the first slide we had today.
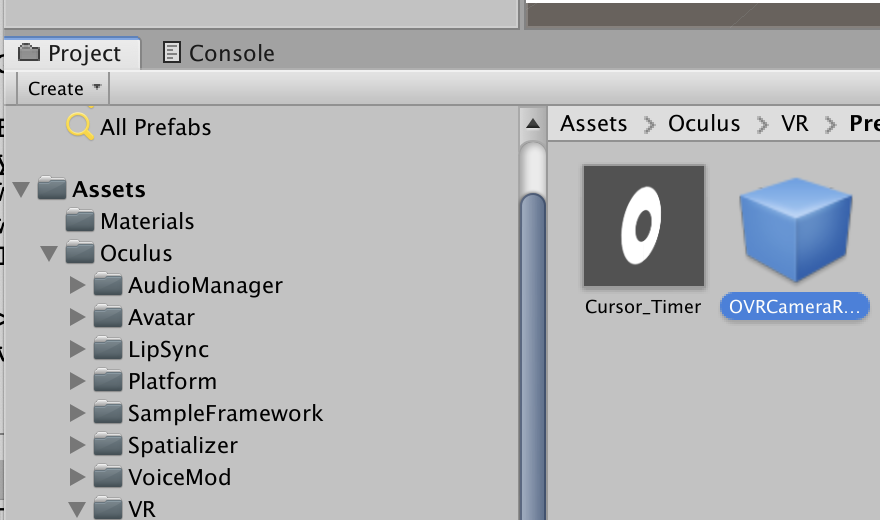
- We next want to add an Oculus VR Camera Rig to the scene, so that when we have the headset on, we see the scene from some viewpoint.
- In your project folder, under Assets - Oculus - VR - Prefabs, select the OVRCameraRig and drag it to the Hierarchy pane:
- In its Inspector set the OVRCameraRig's position to (0, 1.6, 0).
- Right click on the Main Camera in the Hierarchy, that was there by default, and delete it.
- Save your scene/whole project, make sure your Oculus Go is connected via the USB cable.
- Under File - Build Settings, click Build and Run. It will ask you for a save name, make something up but avoid changing the default folder.
- If it complains, Oculus Requires a Mininum Default API Level of ..., go to Edit - Project Settings - Player - Other Settings - Identification - Minimum API Level and change it to what is asked for.
- If all goes well, it should compile and install on the device.
- Next day, we'll go over adding a controller and scripting a player.


