AndroidManifest.xml
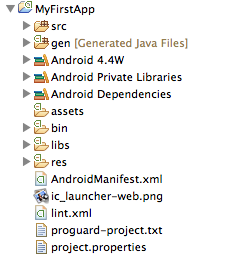
- Leaving, res and returning to our project main folder... If we double-click on the AndroidManifest.xml we see we can edit various properties of
our project.
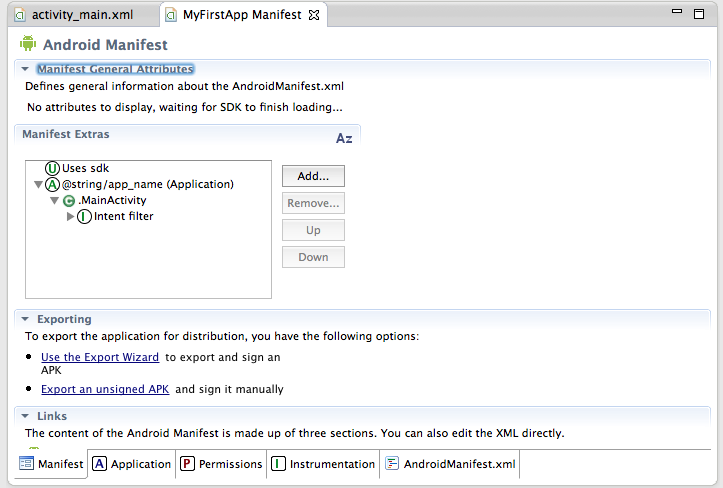
- Beneath the form we see a row of tabs.
- Under the the Application tab we can fill in the icon we are using for the project.
- The AndroidManifest.xml tab let's us see the raw XML of this file.
Running App
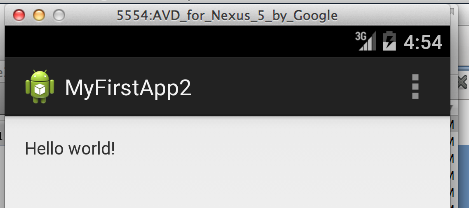
- We can run our trivial application in the emulator by right clicking on our project in Eclipse, and selecting Run As - Android Application.
- This will launch the emulator and we'll see:
The Basics of an Objective-C Program
Implementation Files
To implement the functions you use an implementation file and the syntax:
@implementation classname
+classMethod {
    // implementation
}
-instanceMethod {
    // implementation
}
@end
Example Objective-C Program
// Interface File
#import <objc/Object.h>

@interface MyHello: Object {
   int myNumber;
   int myOtherNumber;
}
-(void)setNumber:(int) aNumber other:(int) bNumber;
-(void)sayHello;
@end
Example Program cont'd
// implementation file
#import <stdio.h>
#import "MyHello.h"
@implementation MyHello
-(void)setNumber:(int)aNumber other:(int)bNumber {
    myNumber = aNumber;
    myOtherNumber = bNumber;
}
-(void) sayHello {
   printf("Hello! %d\n", myNumber + myOtherNumber);
}
-(id) init { //self is like this in Java
    self = (id)[super init];
    if (self) {
        myNumber = 0;
        myOtherNumber = 0;
    }
    return self;
}
@end
Objective-C Example Last Part.
#import "MyHello.h"
int main(void) {
   MyHello *hello = [[MyHello alloc] init];
   //set the number to echo
   [hello setNumber:10 other:5];
   [hello sayHello];
   return 0;
}

/* To compile in gcc could type:
gcc -arch i386 -x objective-c -Wno-import main.m MyHello.m -lobjc

To get this to work on 64 bit architecture/llvm you need to switch to NSObject (
have at least GNUStep available on non-Macs)...
You can actually build XCode projects from the command line:
/Developer/usr/bin/xcodebuild -target project
*/
The point of the above is to see the basics of Objective-C without reference to iOS or OSX, next week we'll
go back to looking at the language in the specific context of Apple.