Tomcat
Installing Tomcat
Download the latest version of tomcat from http://jakarta.apache.org/. Unzip it. Open a console window. Change directories to the bin sub-sub-directory of the installation. For example, my installation is located in:
c:\jakarta-tomcat-5.0.19\jakarta-tomcat-5.0.19\bin
Type startup. Wait a few minutes, then open a browser window to:
http://localhost:8080
You should see the index.html page of the ROOT web application:
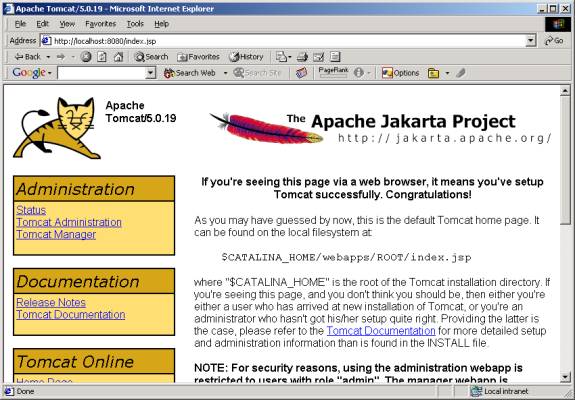
Problems may occur if you have environment variables that point to previous installations of tomcat or if you don't have a JAVA_HOME environment variable that points to an appropriate JDK installation on your computer.
To test your installation, try the Examples links at the bottom of the index page.
Ant
You will also need to download and install Ant from http://ant.apache.org/. You don't need CVS, however.
Move the server\lib\catalina-ant.jar file from your tomcat installation into the lib directory of your ant installation.
Developing and Deploying a Web Application
Click of the Documentation link on your tomcat installation's index page. This should lead to the index page for all Tomcat documentation:
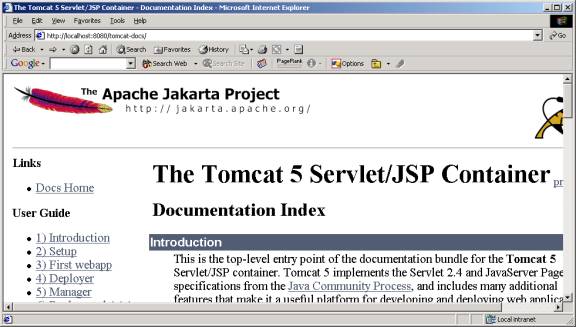
Click on the First webapp link. You will find complete instructions for developing and deploying a web application to your server. You may ignore the cvs instructions if you're not using cvs.
Detailed Instructions
Here are a few details that are not made completely clear in the documentation.
1. Create a directory called webX (where X = your web number) that is not under the tomcat home directory. This will be your development area. In my case this directory is:
c:\pearce\webapps\web0
2. Copy (don't move) the contents of the tomcat-docs/appdev/samples into this directory.
3. Create a text file called build.properties in this directory. Here's what goes in it:
# Context path to install this application on
app.path=/webX
# Tomcat 5 installation directory
catalina.home=c:/jakarta-tomcat-5.0.19/jakarta-tomcat-5.0.19
build.home=c:/jakarta-tomcat-5.0.19/jakarta-tomcat-5.0.19/webapps/webX
# Manager webapp username and password
manager.username=webX
manager.password=webX
4. Open a console window, Change directories to your development area. Type ant.
5. If you get the message that the build was successful, then restart tomcat, and visit the site:
http://localhost/webX
Tomcat Manager
There is a trick you can use so you don't have to restart tomcat each time you re-deploy your application. Locate the file conf/tomcat-user.xml file under the tomcat root. Add manager to one of the users:
<?xml version='1.0' encoding='utf-8'?>
<tomcat-users>
<role
rolename="tomcat"/>
<role rolename="role1"/>
<user username="tomcat"
password="tomcat" roles="tomcat, manager"/>
<user username="role1"
password="tomcat" roles="role1"/>
<user username="both"
password="tomcat" roles="tomcat,role1"/>
</tomcat-users>
Now you can click "manager" from the tomcat index page. Use tomcat as the login and password. You should see:
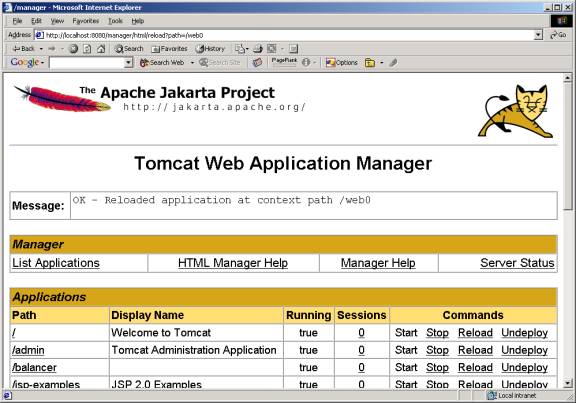
Now you only need to reload the web0 application after each time it is re-deployed.