
This work is licensed under a Creative Commons Attribution-Noncommercial-Share Alike 3.0 United States License.
Copyright © Cay S. Horstmann 2009
This work is licensed under a Creative Commons
Attribution-Noncommercial-Share Alike 3.0 United States License.
Lab 1 Fred Foo
(Scribe) / Becky Bar (Driver)Part A
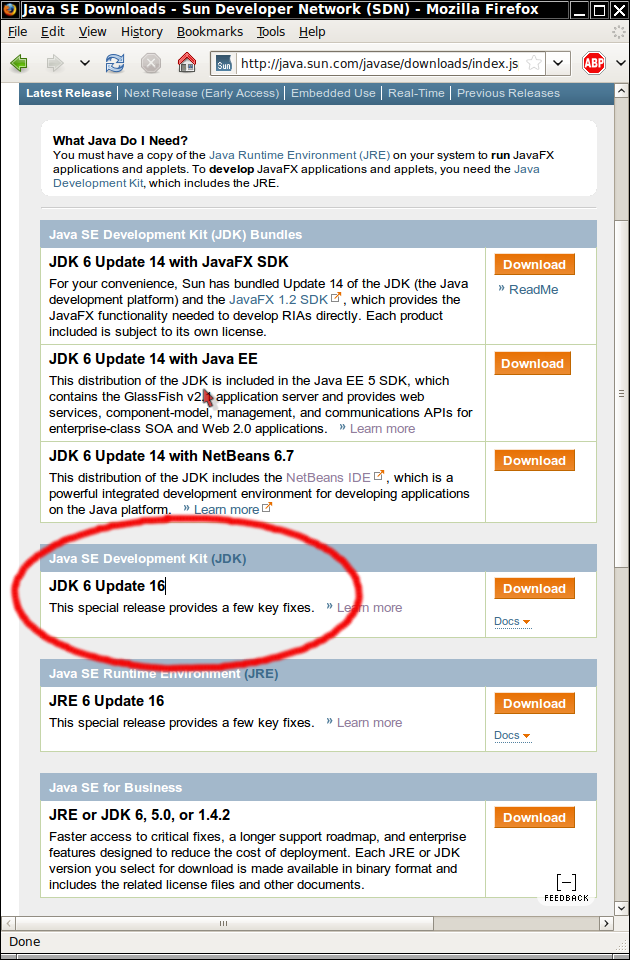
sudo apt-get install sun-java6-jdkjava -jar bluej-252.jar in a console
windowbluej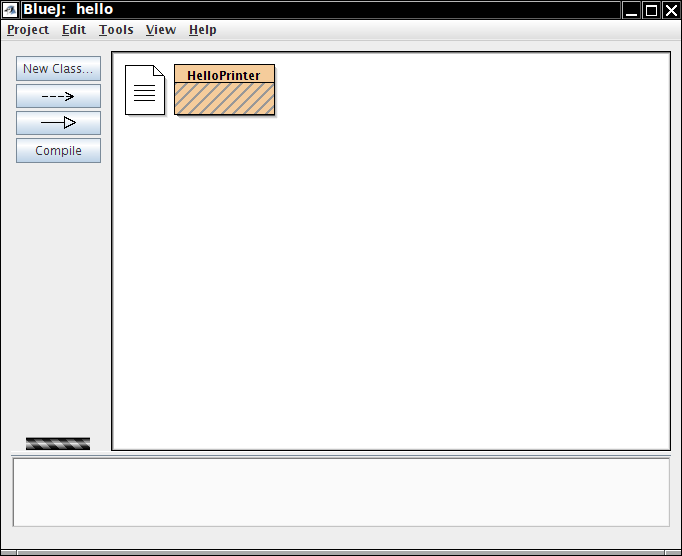
HelloPrinter rectangle. Erase all code
in the editor window and paste in this code:
public class HelloPrinter
{
   public static void main(String[] args)
   {
      // Display a greeting in the console window

      System.out.println("Hello, World!");
   }
}

void
    main(String[] args)
from the menu. Click Ok on the next dialog. You
should get this display:
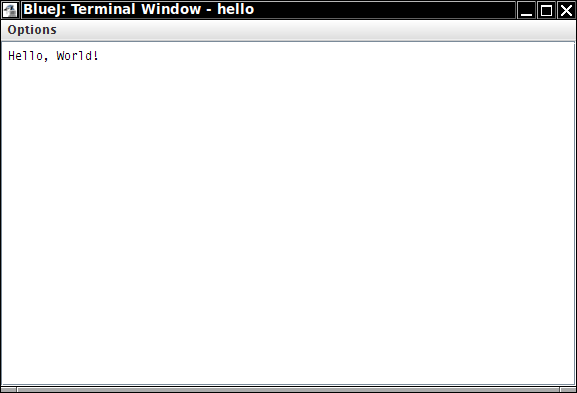
Congratulations: You have just executed your first Java program.
Hello, your
name!. What change did you
make?
When the lab instructions ask you a question about what you did, the scribe needs to enter the answer into the lab report. For example, “We double-clicked on the HelloPrinter class and changed the code so that it looks like this: (paste in code). Then we repeated steps 7 and 8.”
System.out.println with
System.ouch.println. Click Compile. What happens?
Remember to put the answer into your lab report.
Remember to put the answer ...
public class HelloPrinter
{
   public static void main(String[] args)
   {
      // Display a greeting in the console window

      System.out.println("+---------------+");
      System.out.println("| Hello, World! |");
      System.out.println("+---------------+);
   }
}
Click Compile. What error do you get? How do you fix it? What does the program print?
Remember to ...
public class HelloPrinter
{
   public static void main(String[] args)
   {
      // Display a greeting in the console window

      System.out.println(+---------------+);
      System.out.println(| Hello, World! |);
      System.out.println(+---------------+);
   }
}
Click Compile. What error do you get? How do you fix it?
  /////
 | o o |
(|  ^  |)
 | [_] |
  -----
What is the code of your program?
Part B.
System.out.println. Now we want to
experience a different kind of Java programs. You will install the Alice
tools from Carnegie Mellon. This semester, the tools are still a bit
experimental, so the setup isn't as smooth as we'd like it to be. Ask if
you need help!
![]()
First, download Alice from http://kenai.com/projects/alice/downloads. Pick the latest version (currently 3.0.0.64), not one of the ones labeled OLD. Pick the multi-purpose zip. Unzip somewhere. The download takes a very long time, so you should do this at home, not in the lab.
Also download the Alice Netbeans Plugin (currently version 3.0.0.64.1).
If you get a message about the location of the Alice
galleries, click on "Select Gallery location" and locate the
gallery folder inside the unzipped Alice download.
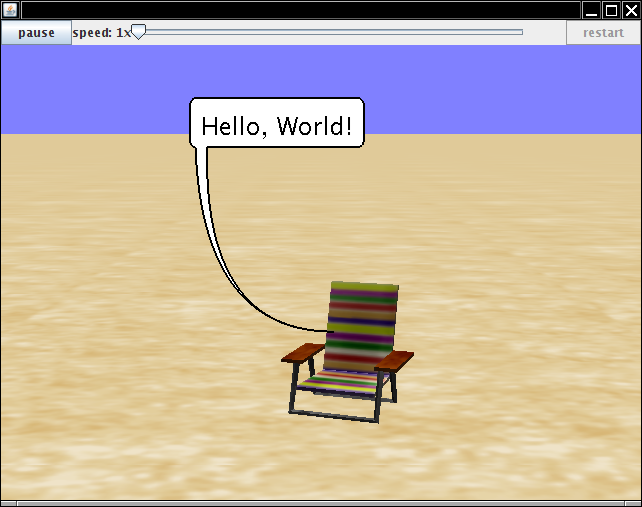
run method. (Ignore all the
complicated code above—in future versions of Alice, this is going to
be in a separate place where students won't see it.) Make a change so that
the beach chair says something different. What
change did you make?say command:
chair.move(MoveDirection.LEFT, 1);
Run the program. What happens?
Part C